

Learn how to make a Memory Box for your kids artwork
As professional home organizers, our main goal is to bring peace and harmony into people's lives by decluttering and organizing their spaces. We believe that a tidy and organized environment can alleviate stress, enhance productivity, and create a sanctuary where you can relax and recharge. Check out this month’s favorite organizing product - packing cubes. Also, learn how to easily create a system to store your kid’s artwork that will last from birth to high school graduation :)
Our Favorite Product of July
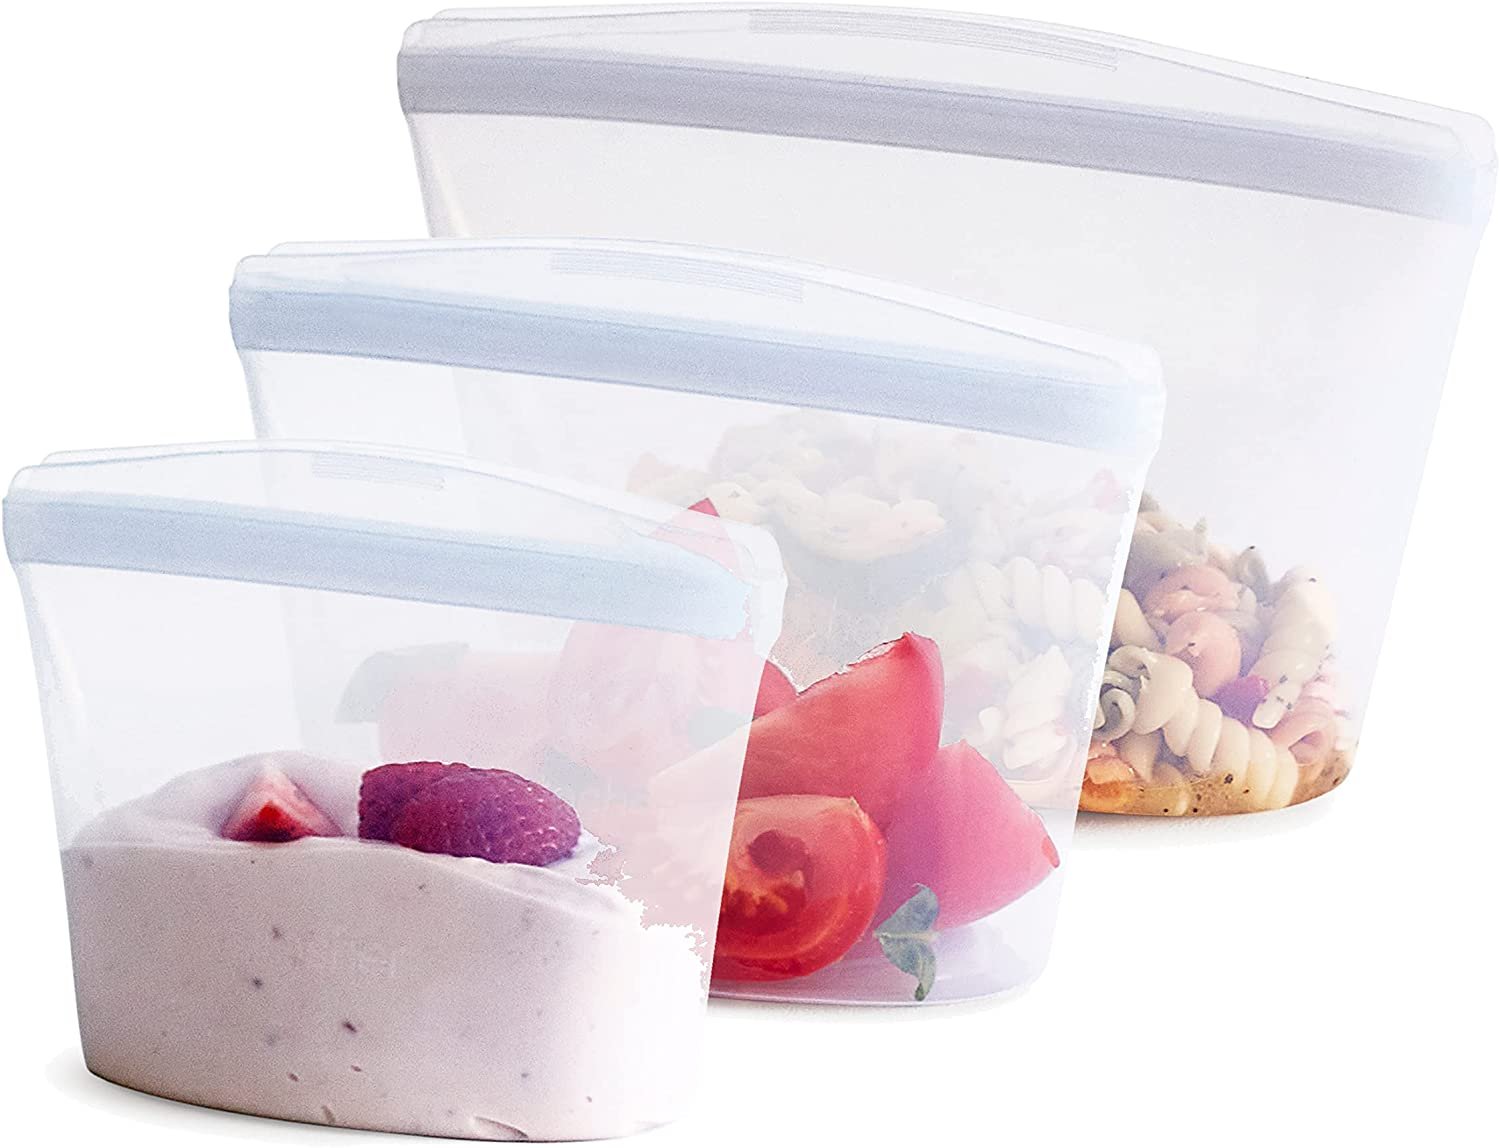
Check out the TravelWise Luggage Packing Cubes!

As we are in the midst of summer and family vacations, we think you should try packing cubes on your next trip!
These cubes are great for organizing items within your suitcase. Pack all of your socks and underwear into one cube, all of your shirts in another, etc. - think of each cube as a drawer in your dresser. Another bonus is that your clothes will not get as wrinkled because they will not shift around in your suitcase.
This cube set comes with three different sizes: 1 small, 2 medium and 2 large.
Ease your stress with the use of these helpful travel cubes and arrive organized, prepared, and a little less wrinkled!
Shop Other Amazon Favorites Here
the best way to organize your kids’ artwork
Artwork created by your kids is sentimental! It shows their unique personality and interests, but often times becomes an overwhelming pile of papers with no place to go.
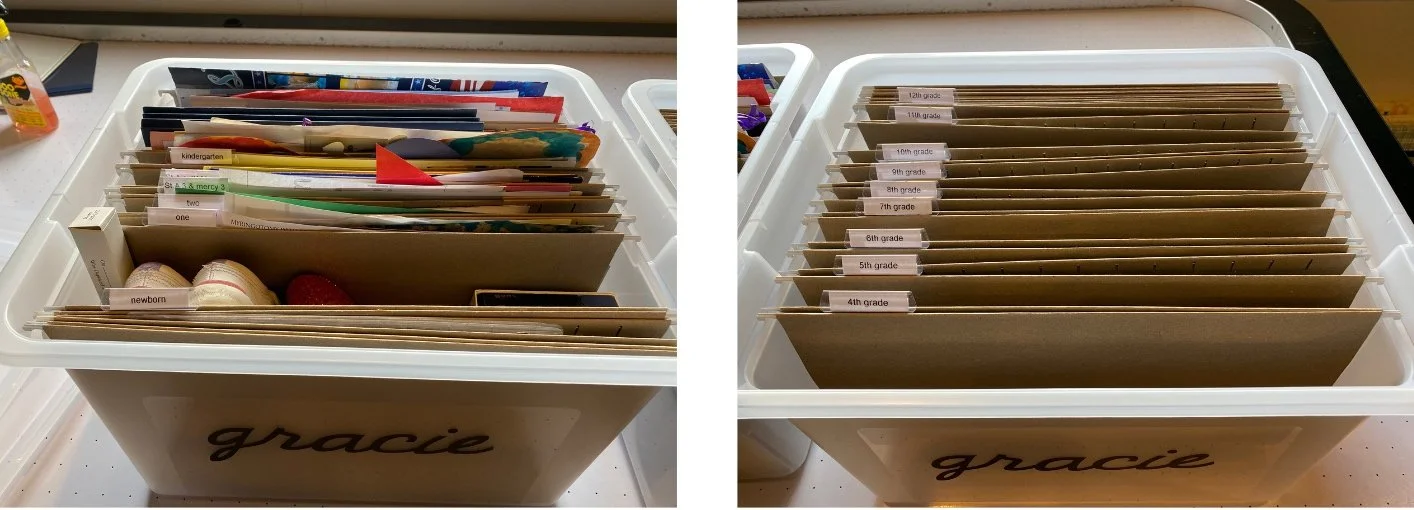
Try this simple project and create a memory box for each of your kids:
Step 1. Gather the following:
2 legal size file boxes for each child
if you have large art projects that do not fit into a legal size file, I suggest this art portfolio
your children's memories: class photos, art projects, writing samples, camp and vacation souvenirs, etc.
Step 2. Label the hanging files by year. I usually use labels such as: birth, year one, year two, year three, preschool, kindergarten, 1st grade, etc., through 12th grade. Of course, you can adjust these to whatever makes the most sense for your child. I use this label maker to label each file.
Step 4. Sort through the memories and decide what to keep and what to toss. I believe that 10-15 items per year is more than enough.
Step 3. Place the memories into files by year.
Step 4. Label the front of each bin with your child’s name. I often make name labels with my Cricut. You can also use labels like these.
Step 5. Save large projects in the art portfolio mentioned above.
To manage their day-to-day schoolwork, I suggest placing a basket in a convenient location to hold everything you might want to save. Some kids want to save everything, and that's okay. Make sure to sort through the basket every month and discard what you know you do not want. At the end of the school year, go through everything saved and narrow it down to those meaningful 10-15 items.
I made a few scrapbooks for my girls when they were young, but realized that I had a hard time keeping up. Then, when we were stuck at home in the spring of 2020, I created these boxes. We got a ton of laughs out of the things I found when sorting, especially the writing samples like this one and this one :)
Please reach out to us if you want help decluttering and organizing your home! happy.healthy.home. is a full-service home organization company on a mission to simplify your life by tackling life's clutter and creating functional spaces.
This blog contains affiliate links. We may receive a commission if you make a purchase after clicking on one of these links.